Interface Overview
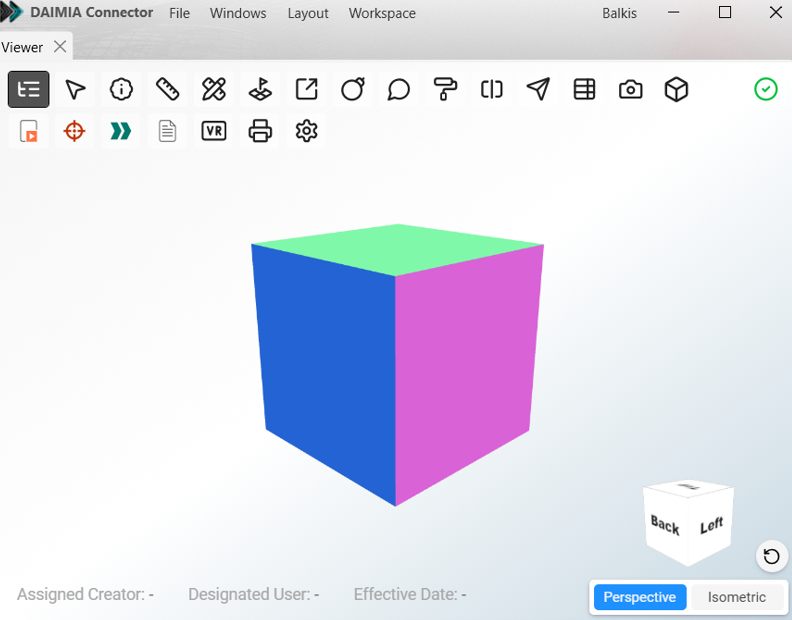
Upon login, DAIMIA Connector opens to the viewer screen. From this point, you can add layouts and configure your settings as needed.
DAIMIA Connector’s user interface consists of several key sections:
1. Main Menu

The DAIMIA Connector main menu consists of the following submenus:
-
File:
- Exit: Allows you to exit the application.
-
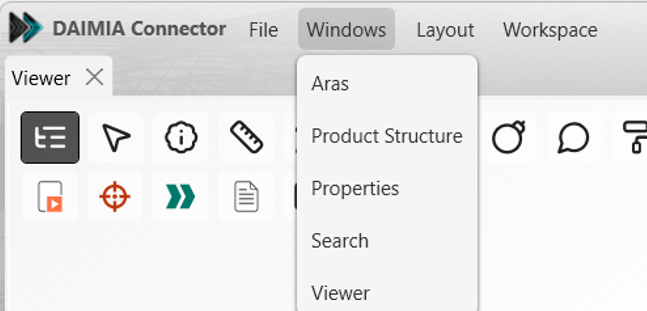
Windows:
- Menu where you can open and close tabs such as Aras, Product Structure, Properties, Search Viewer.
-
Layout:
- Menu where you can save the tabs you’ve selected and their layout arrangement, switch between different layouts, and access layout management options such as delete and save.
- Layout Folder: Opens the folder where the created and saved layout data is stored as XML files. You can copy the XML files from this folder to share them with other users.
-
Workspace:
- Clear Cache Definitions: Used to delete the metadata that has been retrieved from PLM and cached by the application.
2. User Menu
The User Menu, located at the top right of the application, provides information about the current session when clicked on the username.
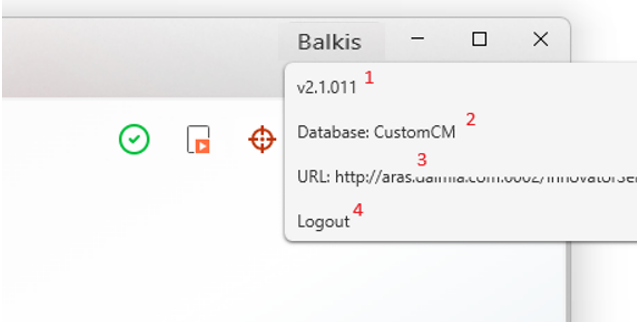
- Version: The version information of the DAIMIA Connector application.
- Database: The name of the connected Aras Innovator PLM database.
- URL: The address of the connected PLM server.
- Logout: Used for the user to log out or to connect with a different user.
3. Windows’ Overview
- Aras Tab: Navigate and browse your PLM data.
- Product Structure Tab: This screen displays the structure of Parts and CAD data in PLM and can send data to the CAD system if needed.
- Viewer Tab: Visualize 3D models and interact with the data.
- Search Tab: Search for specific parts, components, or assemblies.
- Properties Tab: Displays detailed metadata for the selected item.
Last updated on